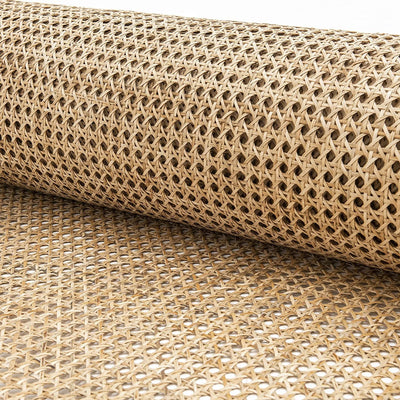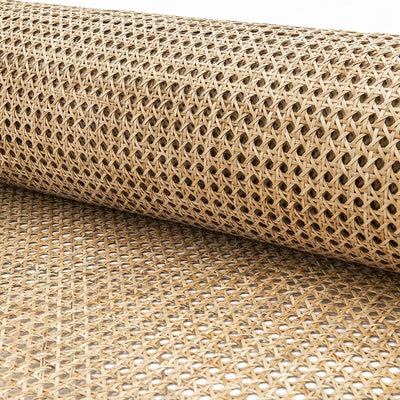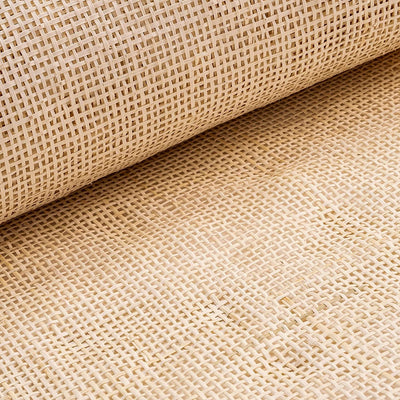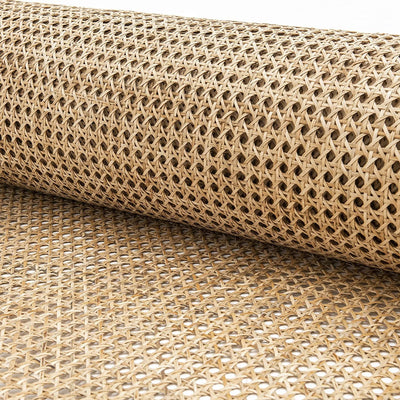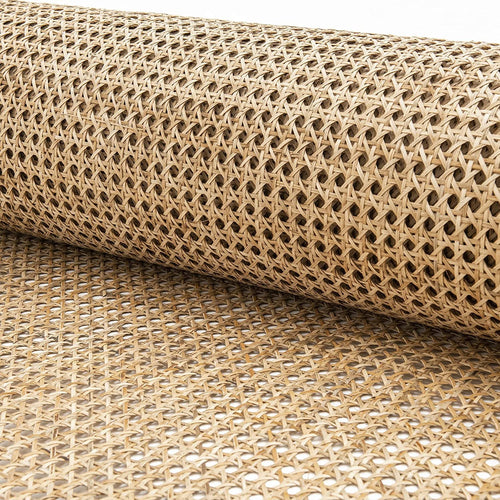

Cane webbing, also sold as cane roll or cane sheet, comes in several weave patterns, and the choice between them is mostly cosmetic since they all handle the same jobs. The open hexagonal weave, with its classic six-sided holes, is the one most people picture on a chair seat.
A sagging cane chair seat looks like a job for a furniture restorer, but most of the time it is a quick afternoon fix you can do at home. The trick is rattan cane webbing, a pre-woven sheet of natural cane that drops straight into the seat frame. No weaving strand by strand, no special skill, just a roll of cane mesh, a tub of water and a little patience while it dries.
This guide covers how to use cane webbing and cane roll for DIY furniture across India, how to re-cane a sagging chair step by step, the weave patterns and where each one works best, and the projects worth trying first. At Akway we hand-weave the same natural cane sheet our customers use for chair seats, cabinet doors, headboards and ceiling panels, sold by the foot so you only buy what your project needs.
Quick answer: cane webbing weaves and where to use them
Cane webbing, also called cane roll or cane sheet, comes in a few weave patterns. The pattern you pick is mostly about looks, since all of them work for the same DIY jobs.
| Weave pattern | Look | Best uses |
|---|---|---|
| Open / hexagonal weave | Classic six-sided holes, airy and traditional | Chair seats, cabinet doors, headboards, ceiling panels |
| Square weave | Clean grid, modern and structured | Cabinet inserts, wardrobe doors, room dividers |
| Radio / close weave | Tight, almost solid surface | Seats and panels that need more support |
What is cane webbing and cane roll?
Cane webbing is natural rattan that has been split into thin strips and machine-woven into a continuous sheet. Because it arrives ready-woven, you skip the slow hand-caning that traditional chair repair needs. You buy it as a roll, cut the length you want, soak it, fit it and let it dry tight.
Cane roll is simply cane webbing sold by the running foot off a larger roll, which is the smart way to buy for DIY because you pay only for the length your project uses. A cane sheet usually comes in a standard 2 feet width, so a chair seat needs a short length while a tall cabinet door or headboard needs more. Spline, the thin reed strip that locks the webbing into a groove, is the only other thing most projects need.
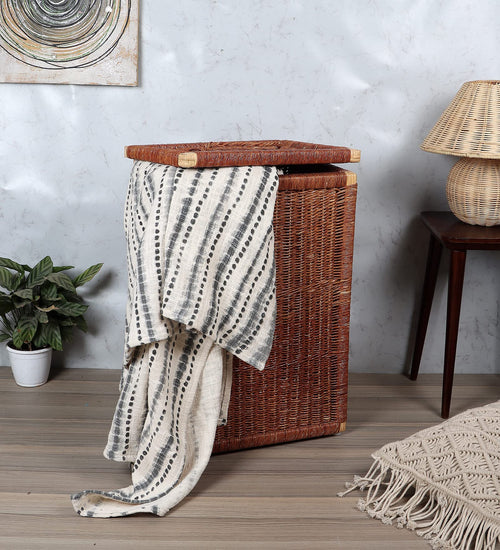
Worth knowing before you buy: natural rattan cane webbing is the real thing, made from the skin of the rattan vine, and it is what you want for any seat or panel that will be seen up close. There is also a plastic or pressed-paper imitation sold cheaply online, which looks flat and yellows fast. For furniture you plan to keep, natural cane is the only material that ages well and can be re-tightened with water years later. Everything in this guide assumes genuine rattan cane, the same material used in traditional wicker and bamboo-style furniture.
Tools and materials you will need
Re-caning a chair seat or building a cane panel needs very little, and most of it is already in a home toolbox. Gather these before you start so the soaked webbing does not dry out mid-job.
- Cane webbing or cane roll in your chosen weave, cut about 2 inches larger than the opening on every side.
- Spline, the reed strip that wedges the webbing into the groove. Match its width to the groove in your chair frame.
- A few wooden or plastic wedges to press the webbing down without bruising the cane.
- Wood glue to lock the spline in place.
- A sharp craft knife or chisel to trim excess webbing and to clear the old spline from the groove.
- A tub of warm water deep enough to soak the full sheet, plus a clean cloth.
- For panels and doors: a staple gun and beading instead of spline, since most cabinet frames have no groove.
How to re-cane a sagging chair with cane webbing
This is the press-in or sheet-cane method, which suits any seat frame that has a groove running around the opening. If your chair has individual drilled holes instead of a groove, it needs hand-caning, which is a different job.
- Measure the opening. Measure the seat opening at its widest and deepest points, then add about 2 inches all round so the webbing has enough to grip in the groove. Order that length of cane roll.
- Remove the old cane and spline. Lift out the old webbing and dig the old spline out of the groove. Clean the groove fully so the new spline seats flush.
- Soak the webbing. Soak the cane webbing and the new spline in warm water for 30 to 60 minutes until they are flexible. Wet cane bends without snapping and shrinks as it dries.
- Fit the webbing. Lay the soaked sheet over the opening, lining up the weave straight. Press it into the groove with a wooden wedge, working from the centre of each side outwards, and keep it taut.
- Set the spline. Run a bead of wood glue into the groove, then tap the soaked spline in over the webbing to lock it. Trim any webbing sticking out above the spline.
- Dry to tighten. Leave the chair flat for 24 hours. As the cane dries it shrinks and pulls drum-tight on its own. Trim stray ends once fully dry.
DIY projects you can make with cane webbing
Once you have a roll of cane sheet, the same material covers far more than chair seats. Here are the projects our customers come back for.
1. Chair re-caning
The most common job. Bring a tired dining chair, rocking chair or accent chair back to life by replacing a torn or sagging seat with fresh cane webbing. One short length per seat, and a set of chairs looks new again. The same method works for cane chair backs, footstools and bench seats, so a whole dining set can be refreshed from a single roll.
2. Cabinet door inserts
Swap solid or glass cabinet door panels for cane webbing to get that warm, breathable boho-meets-Japandi look. It suits wardrobes, sideboards, TV units and kitchen cabinets, and the open weave lets air move through stored items. Square weave reads more modern here, hexagonal more classic. Since most door frames have no groove, you staple the webbing to the back of the frame and hide the edge with a thin strip of beading.
3. Headboard panels
A cane headboard is one of the highest-impact upgrades you can make to a bedroom. Stretch cane webbing across a simple timber frame and you have a natural, textured headboard for a fraction of store prices. Pair it with a sage or terracotta wall and it instantly reads like a designer bedroom.
4. Lampshade and pendant frames
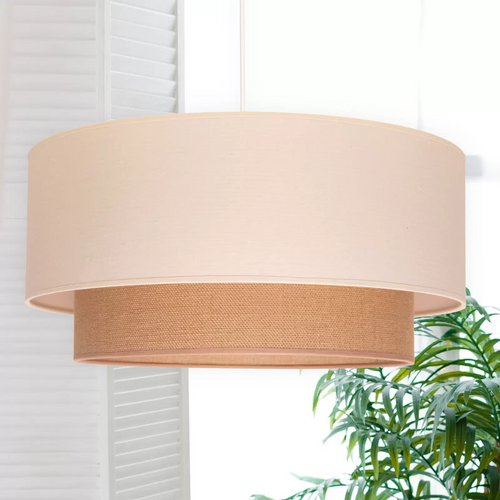
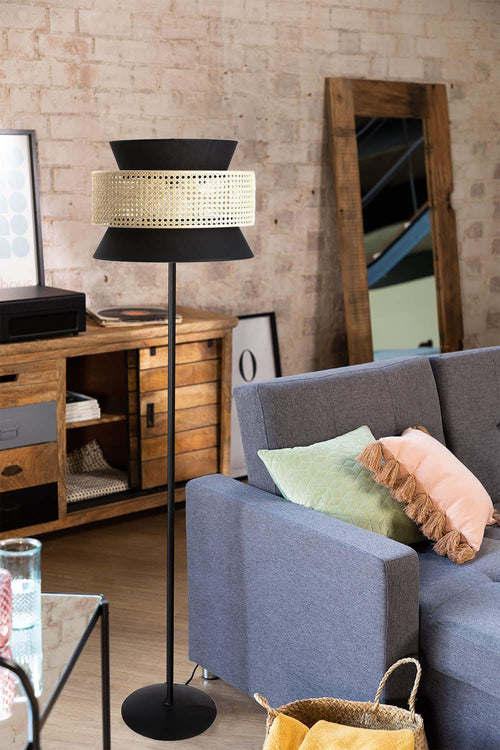
Wrap cane webbing around a drum or pendant frame for a soft, filtered glow. The weave throws gentle shadows when lit, which works beautifully over a dining table or bedside.
5. Ceiling panels and room dividers
For the ambitious, cane webbing stretched into a ceiling frame or a freestanding screen adds texture overhead and divides open-plan spaces without blocking light. Hexagonal weave is the usual choice here for its airy, traditional look.
Cane webbing and cane roll, sold by the foot
These are our most popular natural cane sheets for DIY furniture and chair repair, each woven from real rattan. Pick the length your project needs.

Cane Webbing Hexagonal - 2 ft x 1 ft
A short length for testing, small repairs or a single cabinet door insert. Classic open hexagonal weave.
From Rs 1,299
Shop Now
Cane Webbing Hexagonal - 2 ft x 3 ft
The right size for re-caning one or two chair seats. Soak, fit and let it dry tight.
From Rs 1,999
Shop Now
Cane Webbing Square - 2 ft x 4 ft
Clean square weave for modern cabinet doors and wardrobe inserts. Covers a small headboard too.
From Rs 2,899
Shop Now
Cane Webbing Hexagonal - 2 ft x 5 ft
A versatile mid-length for a full headboard panel or a set of dining chair seats.
From Rs 3,999
Shop Now
Cane Webbing Roll Hexagonal - 2 ft x 10 ft
The full cane roll for big projects: a whole set of chairs, several cabinet doors or a large feature panel.
From Rs 6,999
Shop NowHow much cane webbing do I need?
- One chair seat: a 2 ft x 3 ft length covers most dining or accent chair openings with room to grip the groove.
- A cabinet door: measure the panel and add 2 inches all round. A 2 ft x 4 ft sheet covers most single doors.
- A headboard: a 2 ft x 5 ft length suits a single or small double frame; go for the 2 ft x 10 ft roll for a wide bed.
- A full project: for a set of chairs or several panels, the 2 ft x 10 ft cane roll is the most economical per foot.
Common mistakes to avoid
Most cane webbing projects that go wrong fail for the same handful of reasons. Knowing them in advance saves a wasted sheet.
- Skipping the soak. Dry cane is brittle. Pressing it into a groove without soaking first is the quickest way to crack the strands.
- Stretching it tight while wet. Wet cane shrinks as it dries, so a sheet pulled drum-tight when damp will over-tighten and split. Fit it just snug.
- Cutting too small. Always allow 2 inches of extra webbing on every side. You can trim excess, but you cannot add back a sheet that is too short.
- Forgetting the glue. Spline holds far better with a bead of wood glue in the groove. Without it, the seat works loose over time.
- Drying in the sun. Dry the finished piece flat and in the shade. Direct sun dries the cane unevenly and can warp the weave.
Why natural rattan cane is worth it
Cane webbing has stayed in furniture for over a century for good reason. It is light yet strong, the open weave keeps a seat breathable and cool to sit on, and it carries the same warm, handmade character as woven wicker and bamboo pieces. Genuine rattan can also be re-tightened with nothing more than water years down the line, so a well-made cane seat outlasts most foam and fabric alternatives. For Indian homes leaning into boho, Japandi or modern natural styles, a panel of real cane does more for a room than almost any off-the-shelf decor at the price.
Caring for cane webbing
- Dust with a dry cloth or soft brush so dirt does not settle in the weave.
- Wipe spills quickly and let the cane air-dry fully before use.
- Keep finished pieces out of constant direct sun, which dries and yellows natural cane.
- If a seat loosens over the years, a light mist of water on the underside and a slow dry will tighten it again.
- A thin coat of clear lacquer or wax once a year keeps the weave strong and looking new.